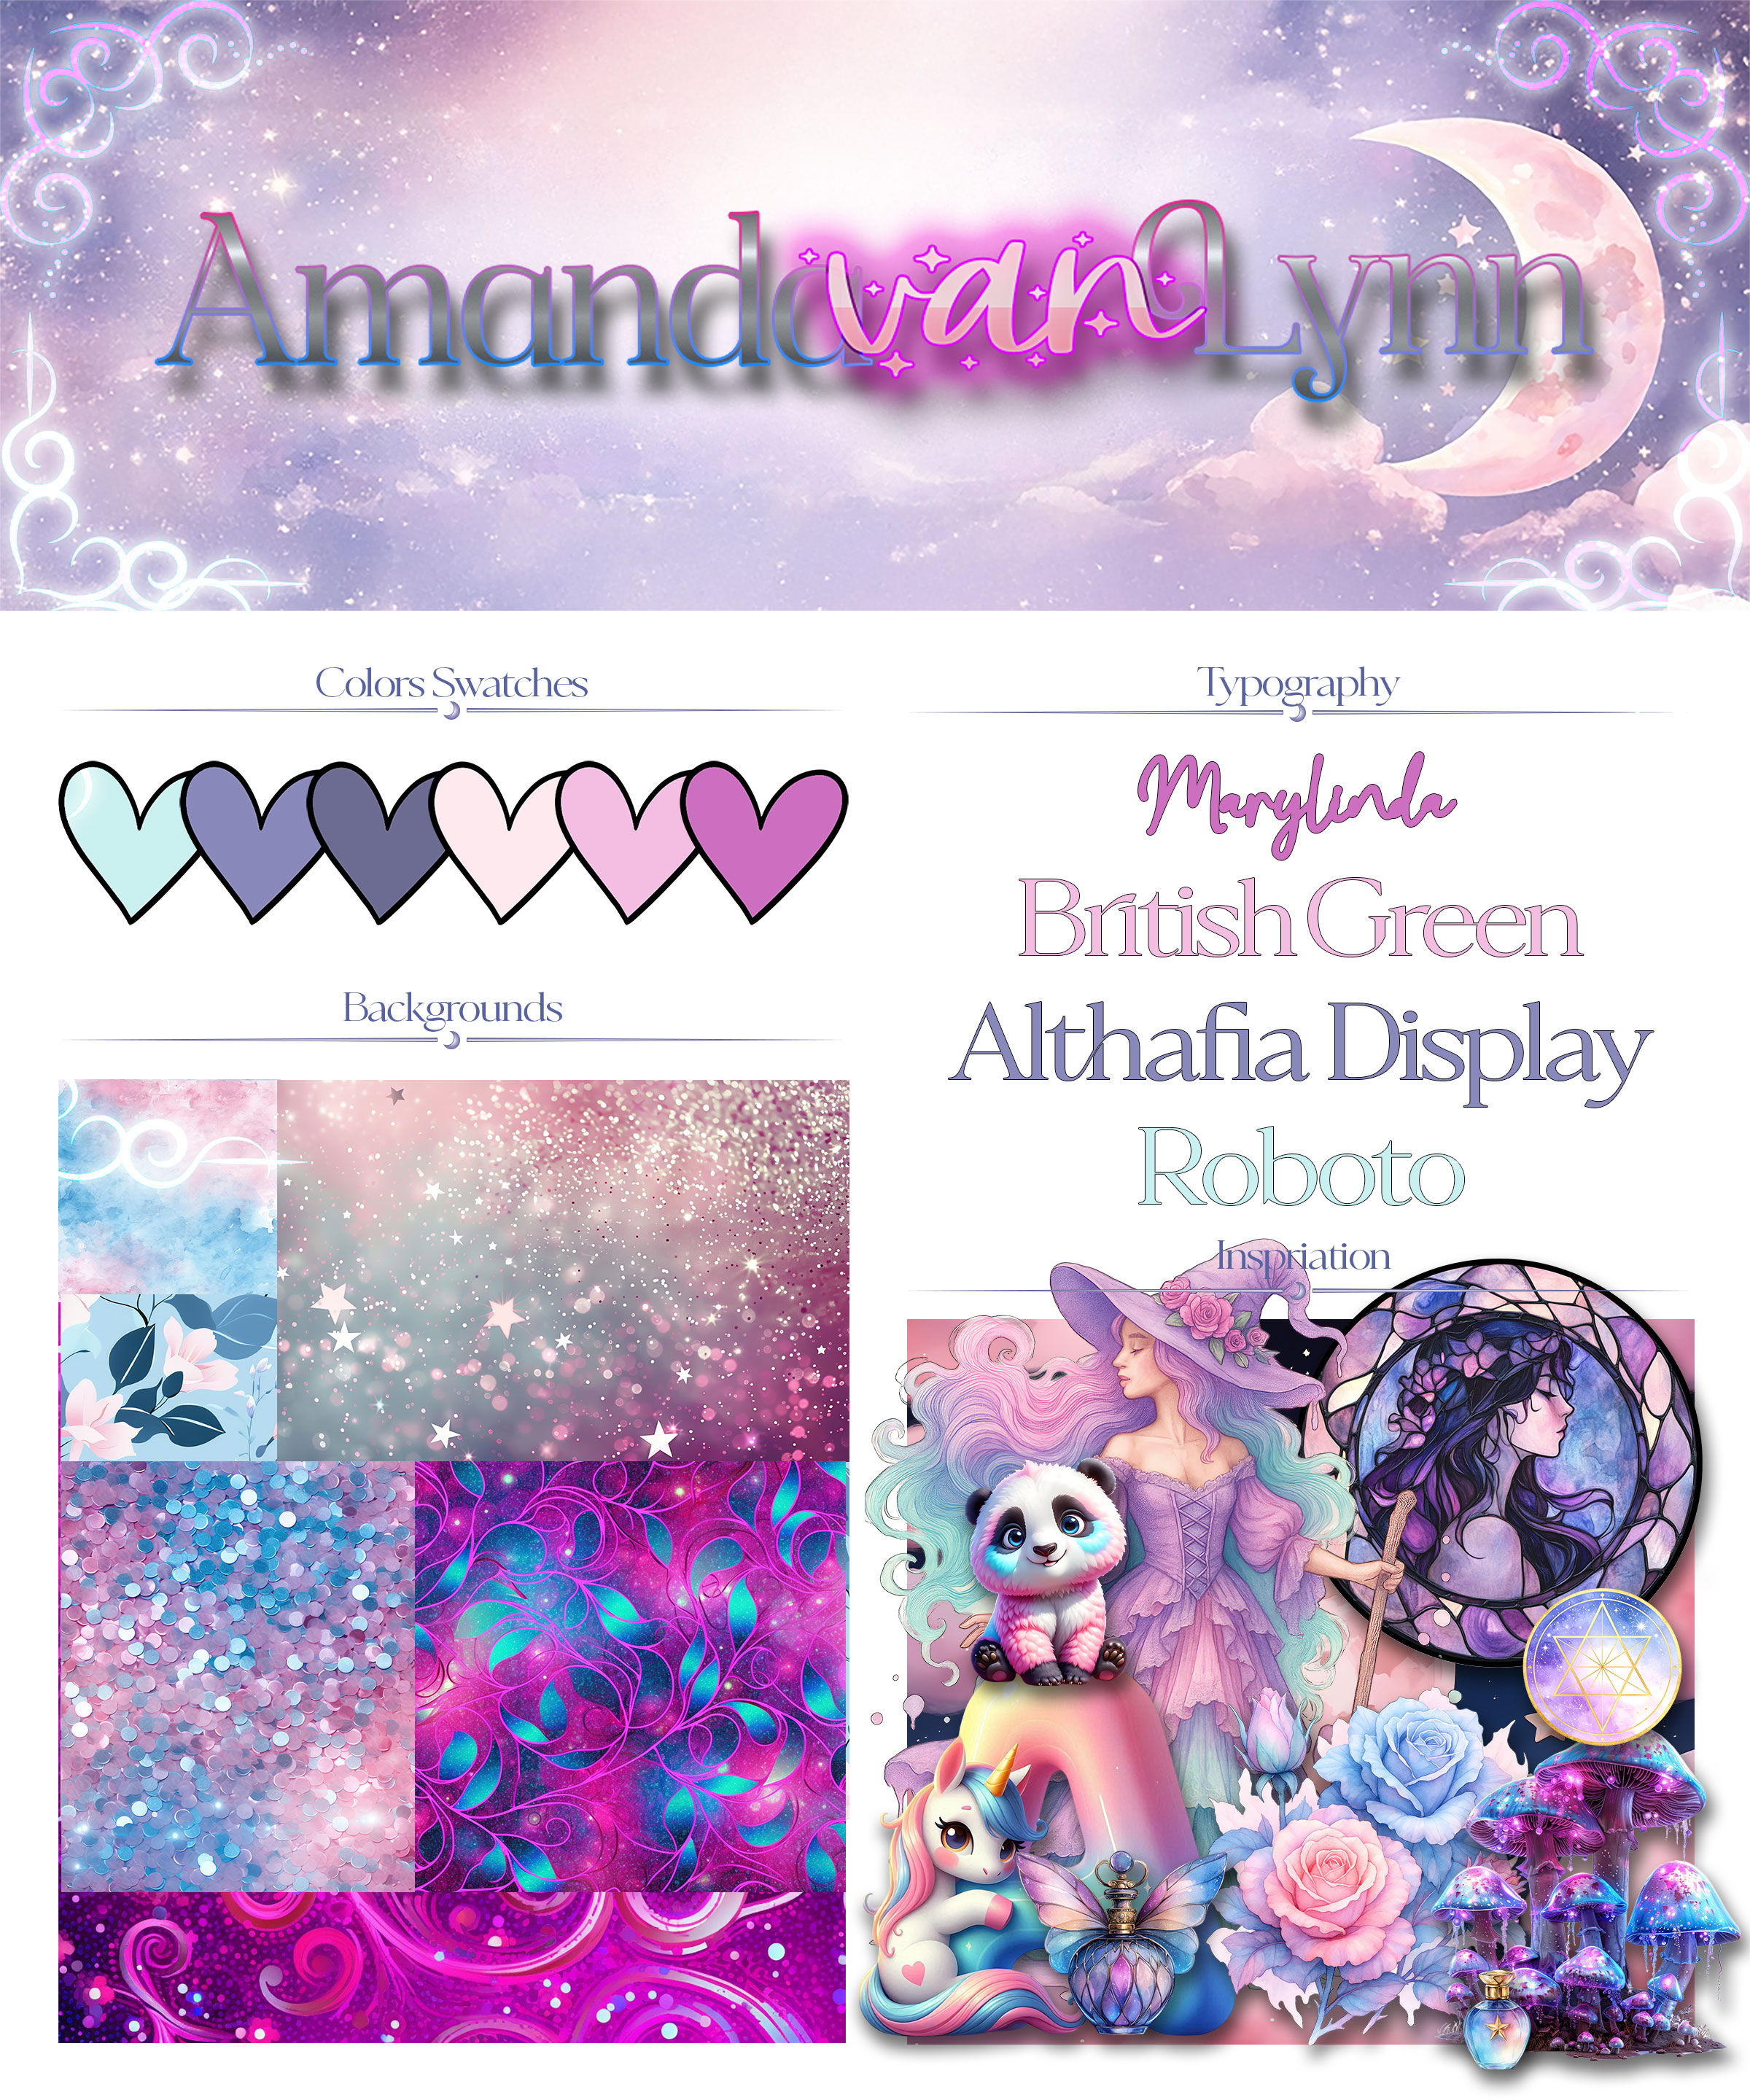
Mood Board Creation
This page documents the step-by-step process behind creating my mood board for my Blog site— from early inspiration to final export for the web.
Project Type
Mood Board / Visual Direction
Tools Used
ChatGPT, Adobe Photoshop
Purpose
Establish color, mood, and visual direction for a website.
Creative Process
Step 01Finding Inspiration
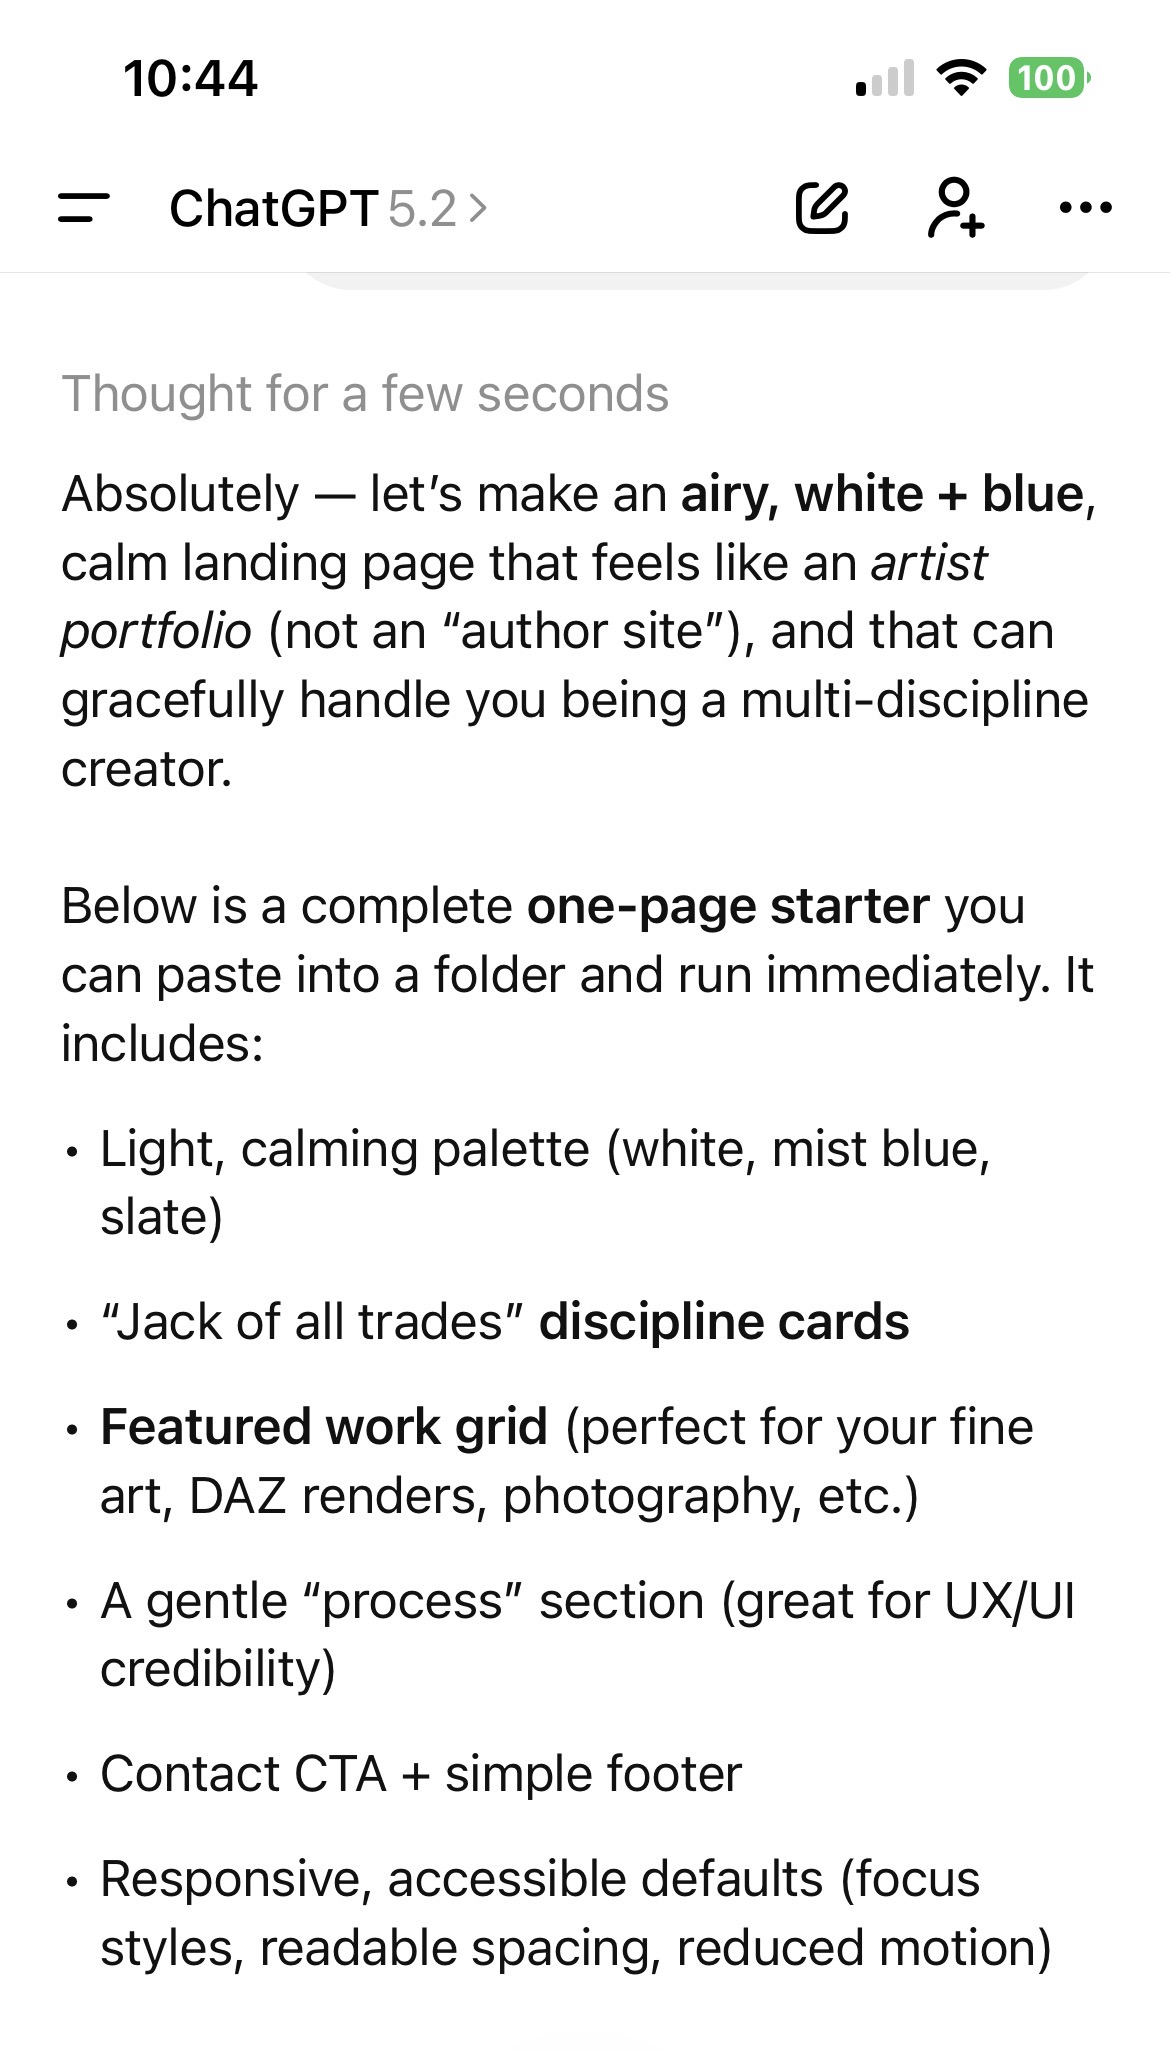
I used ChatGPT as a creative brainstorming tool. By writing prompts, I explored color palettes, moods, and visual themes that helped guide the direction of the mood board.
PROMPT:Let’s make a new website. This one is for my artist portfolio. I want this different from the other sites we created. I’m thinking whites and blues and not dark very airy and calming. I’m a bit of a jack of all trades when it comes to art and creativity. I’m just looking at a landing page to start out with. My art skills include fine art, 3D daz studio artwork, graphic design, web design, photography, UI and UX design.
Response
Stock Art & Fonts
I sourced affordable stock illustrations, textures, and fonts from CreativeFabrica.com, ensuring licensing was suitable for web use.
Adobe Photoshop
Photoshop was used to assemble the mood board—adjusting colors, blending imagery, refining composition, and balancing typography.
Putting It All Together
Visual elements were arranged intentionally to communicate mood, hierarchy, and brand tone clearly.
Exporting for Web
Assets were exported in web-friendly formats and resolutions, optimizing for clarity, performance, and responsiveness.
Adding to Website
The final mood board was implemented into the website layout, influencing color tokens, typography choices, and spacing decisions.
Visuals
